Archive for the ‘Tech Tips’ Category

Gear Review: CAMP HMS Carabiner

Tuesday, August 30th, 2016

Gear Review_HMS v2

CAMP HMS Compact Locking Carabiner

By: Abbie Madlem

The CAMP HMS compact locking carabiner has quickly become my go-to for belaying. It has a rounded design, which makes using it for belaying or rappelling super smooth.

It’s the only carabiner that I haven’t had to work hard to belay rope through in the gym, which is crucial when you’re belaying for long stretches of time. The rounded design means that there are no corners for the rope to bunch up in. The reduction in friction means a lower heat as well. The wide design also prevents the carabiner from flipping on your harness.

I think it is the perfect carabiner to get comfortable belaying on, because it is so easy to use, but I would recommend it to people that are seasoned belayers as well!


Crushing Tip #27

Tuesday, June 30th, 2015

crushing tip 27

Trix Aren’t Just for Kids

by Jimmy Grant

Climbing games at Edgeworks are not just for our young up and coming Sharma’s, Caldwell’s, and Puccio’s. They are also fun for our fully grown “kids” as well. Games and climbing drills are a great way to build strength, technique, and visualization. Not to mention a great way to kill the monotony of endless hours in the gym.

So grab a few friends and try out these games and drills to spice up your next session:

The Classic – “Add-on”

How to play: The first player begins by choosing and establishing themselves on 2 start handholds preferably on the boulder or in our lead cave, but can be played on any terrain. The second player then uses the same 2 start handholds and adds-on 2 of their own handholds. Then the next player adds 2 more handholds, or the first player returns to the start to try the new sequence and adds 2 more at the end. The feet are open to step on any hold they would like. You can play this classic with 2-4 players of similar ability. The game keeps going until someone makes a mistake, making them out. Add-on is great for training endurance. It is also great for making you aware of where you may excel and others struggle or vice versa. This can make you more aware of what you can work on to become an even better climber.

Variation: Try to add-on 5-8 moves at a time per player. Attempting to do more moves all at once will help climbers work on their on-sighting skills.

The Challenge – Edward Hover-Hands

How to play Edward Hover-Hands: Step One: Start by choosing a route which is easier for you. Right before you touch the next handhold force yourself to “hover” your hand over it and count out loud to five! If you are able to do this without struggling, pulling really hard, or becoming out of balance, move to a more difficult problem. Focus on finding the easiest and most efficient position for your body. Hover Hands helps you slow down and further understand your enemy, gravity. Practice once a week for 20-30 minutes towards the end of each climbing workout. Come back later to crush the enemy.

The Basic – Straight Arm Climbing

This drill may not be the most fun you have ever had, but it is a necessary exercise to add to any climbers arsenal, experienced or not. It is exactly what it sounds like.  Straighten your arms and lock those elbows as you climb a slightly easier route. Climbing with straight arms forces all of your upward movement to be derived from your lower body. Even as strong as some upper bodies may be, even the strongest person in the world can’t do pull-ups all day. Because we cannot engage our arm muscles, the pull becomes a push and we are forced to rotate from the hips for reach, causing more efficient technique.


Crushing Tip #26

Sunday, May 31st, 2015

crushing tip 26

Footwork: Edging and Smearing

by: Matt Coleman

Crushing begins with footwork and it’s important to consider how you use all that wonderful rubber on your climbing shoes.

There are two fundamental techniques: edging and smearing.

Most climbers really only edge in some form or another and this is useful on footholds that have some sort of positive edge for the shoe to grip. When edging, it’s important to think about really flexing your toes and pressing them into the hold while making sure your heel stays level with, or higher than your ankle. This will allow you to fully use the shoes performance.

Smearing on the other hand is a different and often neglected technique. When footholds get tinier and more rounded, it’s generally more useful to focus on keeping your heel down below your ankle and get as much rubber on the hold as you can. Flex your toes into the hold and step onto the foothold with confidence and a little force. Be aware that if you lose focus and let the heel lift, or you don’t commit to stepping into the hold, you will usually skate off the foothold. But soon, with a little practice, you’ll find that even the smallest features of the wall will be usable!

Once you master these two basic foot techniques, progress into playing with edging using the inside and outside edges of the shoe. Many times climbers use only the tip of the shoe and this limits your ability to twist your hips in to the wall at times.

Try it and crush on!

Gear Review

Thursday, April 30th, 2015

Gear Review

Evolution Aero Bicolor Dry 60M

by Andrew Powell

This is a great new rope by Sterling! In four days I pulled it up 42 pitches of sandstone in the Red Rocks Conservation Area, Nevada. It is super lightweight and supple at 9.2mm and 56g/m. It was light enough that on rope stretching pitches, I did not feel like it was dragging me down.

I used it in combination with a heavier 9.8mm rope to simultaneously belay multiple followers. This new Sterling rope handled much nicer and was easier to pull through a belay device than the thicker rope.

During single pitch climbing, it was also noticeably easier to belay with. The sheath is smooth and durable, showing limited signs of wear after fairly heavy use on the highly textured sandstone.

While taking lead falls, this rope was comparable to most other dynamic ropes that I have used.

If you have not switched to a Bi-color rope yet, do it! The convenience of finding the middle point is well worth the extra cost. The only downside to this rope is shared by any small diameter line, they seem to get stuck in cracks more frequently than bulkier ropes.

In summation, this rope is great and Sterling consistently puts out great rope products.

Evolution Aero Bicolor Dry 60M


Overuse Injuries

Monday, June 24th, 2013

Overuse Injuries, Functional Movement Screens, and Core Stability Interventions:

elbow

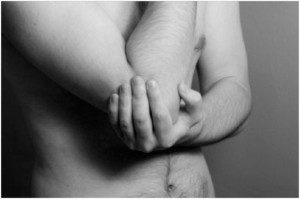
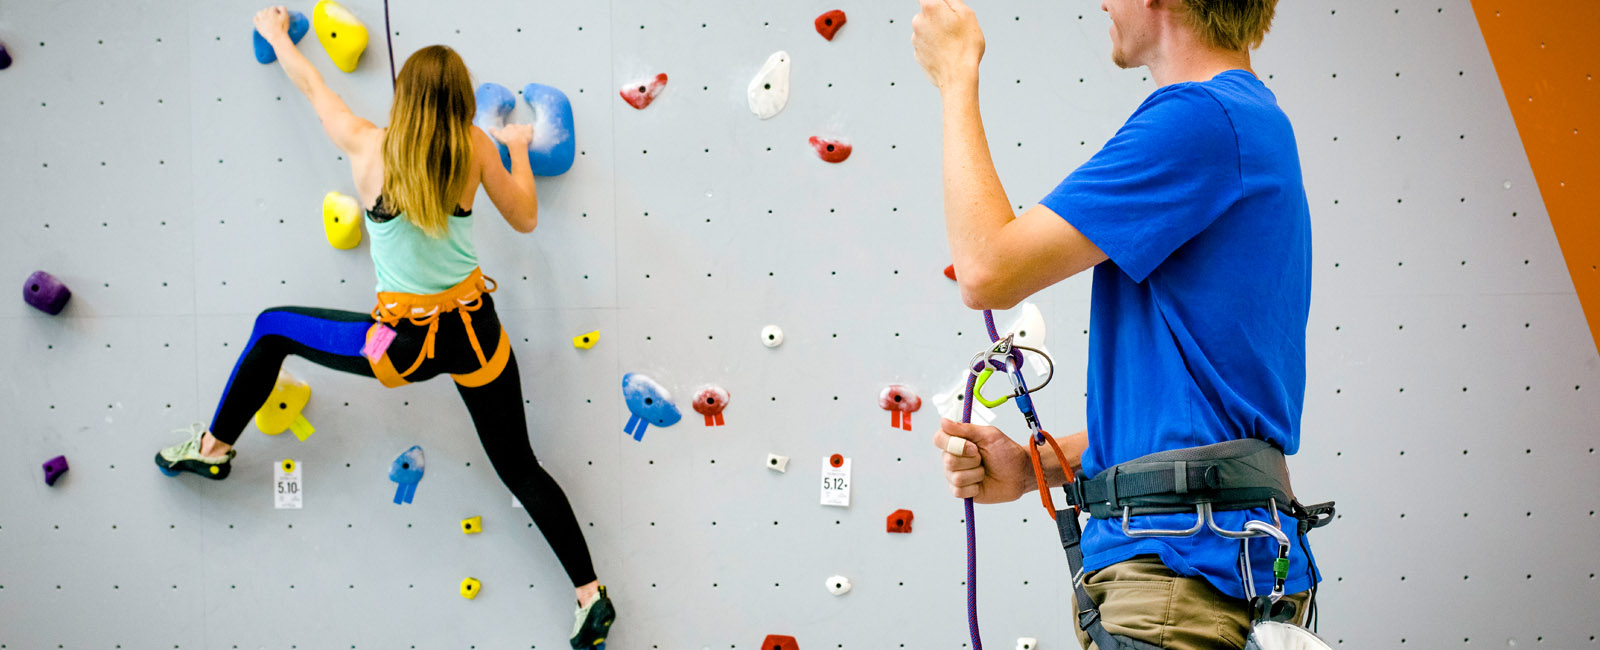
Many of us have heard that elbow and shoulder pain associated with climbing is an overuse injury, but what does this mean and why does it happen? An overuse injury simply means that a joint or muscle is working harder than it can handle. Overuse injuries often happen in joints and small muscles due to a plethora of reasons including, insufficient rest, dehydration and movement compensations. If you have experienced shoulder or elbow pain before, you probably have heard that this pain is just a part of climbing, that climbing is hard on the body, and that injury is inevitable. But have you ever wondered why your buddy who climbs the exact same amount as you doesn’t have pain and you do.

The real question is why are your shoulders and elbows working harder than they should be? While overtraining is a legitimate consideration, climbing itself should not inherently cause injury. In fact, climbing is a natural movement for humans; most of us learned how to climb before we learned to walk. Watch your baby videos…you most likely went from crawling to climbing tables and chairs to walking. So, if climbing is natural, why do we have pain? Your elbow and shoulder pain could be due to faulty movement patterns. Seems crazy to think that hip mobility, thoracic mobility and scapular stability can all effect your shoulders and elbows, but the reality is our whole body is connected and if we have weak hips, then we compensate with other parts of our body…such as the shoulders.

How do we know if we have faulty movement patterns? Research has shown that movement compensations and asymmetries can be identified using movement assessments such as the Funtional Movement Screen (FMS), and that likelihood of injury can be predicted based on the results. Further, research has shown that core stability and mobility exercises can be administered to correct weaknesses and significantly decrease the rate of injury.

Several studies have examined the relationship between FMS scores and the incidence of injury. The Functional Movement Screen as developed by Gray Cook consists of seven tests including: Deep Squat, Hurdle Step, In-Line Lunge, Shoulder Mobility, Active Straight Leg Raise, Trunk Stability Push-Up and Rotary Stability. One study measured scores of 46 professional football athletes and concluded that a score of 14 or less (out of 21) on the FMS was associated with an 11-fold increase in the chance of injury and a 51% probability of sustaining a serious injury over the course of one competitive season (Kiesel et al).

Number of Injuries Compared to Scores on FMS:

overuse

Another study done on D-II female athletes found that of the individuals who had a FMS score of 14 or less, 68.75% of those individuals sustained an injury throughout their respective competitive season. Additionally, 81.82% of subjects who scored at or below 13 and 48.28% of subjects who scored at or below 15 sustained injuries (Chorba et al).

Research has also been conducted on personnel in physically demanding occupations. A study in the Journal of Occupational Medicine examined Core strength as a model for injury prediction and prevention. The researchers used the FMS to assess core stability and mobility in 433 firefighters and then administered appropriate core training over a 12month period. The intervention reduced lost time due to injuries by 62% and the number of injuries by 42% over a twelve month period as compared to a historical control group (Peate et al).

These studies amongst many others all suggest that an FMS score below 14 puts you at a much greater risk of sustaining an injury no matter what activity you are participating in. Gray Cook explains in his book Functional Movement that humans, for the most part, are not born with these compensations and asymmetries; they develop due to repetitive movements that create poor movement patterns and posture, such as sitting. He also explains that once you have determined a need for intervention based on your FMS score that you can target your weakest link, whether it is a mobility or stability issue, and often all of your FMS scores will go up because the body will readjust via its proprioceptive feedback system. So, before continuing to ice and medicate find a professional who can perform the FMS assessment and see if your elbow or shoulder pain is due to faulty movement patterns. Or, if you aren’t having pain yet, get screened to see if you can avoid the “inevitable” climbing injuries.

Marissa Lyons, ACE- PT, FMS level 1

References

Chorba RS, Chorba DJ, Bouillon LE, et al. Use of a functional movement screening tool to determine injury risk in female collegiate athletes. N Am J Sports Phy Ther. 2010; 5(2); 47–54PMID: 21589661. [PMC free article] [PubMed]

Kiesel K, Plisky PJ, Voight ML. Can serious injury in professional football be predicted by a preseason functional movement screen. North Am J Sports Phys Ther. 2007;2(3):147–152. [PMC free article][PubMed]

Peate WF, Bates G, Lunda K, Francis S, Bellamy K. Core strength: a new model for injury prediction and prevention. J Occup Med Toxicol. 2007;2:3. [PMC free article] [PubMed]

Hands Down: A Better Belay

Sunday, May 6th, 2012

It’s always interesting to see the different techniques that people use to belay; generally the differences stem from when the person was taught or when that instructor was taught themselves.  Belay methods have evolved over the history of climbing as equipment improved and the knowledge of how to use that equipment has improved.  Unfortunately as all that improvement occurs, someone who has already learned how to belay doesn’t always update their methods.  Thankfully there are many different ways to belay, old or new, that are still safe (and contrary to rumors, there are many ways to pass a belay test at Edgeworks).

—————————————————
BELAY HISTORY 101:

So what has changed?  From the beginning, belaying took leaps and bounds in safety when it moved from the Hip Belay (no equipment other than the rope wrapped around your hip!) to incorporating equipment like harnesses and carabiners and using a knot/hitch called the Munter Hitch to provide friction. Eventually instead of belaying using a friction hitch, belay devices such as stitch plates and then tuber devices (i.e. Black Diamond ATC) were introduced; this improved the effectiveness of the belay even further.  What didn’t change was that way you handled the rope was still very much the same as if you were still doing the Hip Belay.

This belay method that has been used for decades (if not well over 100 years) is often times called the Hands Up or the Slip Slap Slide method; basically it is the method where you hold both hands up in front of you in order to belay.  It was the only way to do a Hip Belay, and it worked well as the belay equipment evolved.  It is a safe belay method (when managed properly) and it is still used today (though very much fading from use).
—————————————————

Sometime in the early 2000’s a new belay method came into vogue called the Hands Down or the PBUS.  This method caught up to and made better use of today’s belay devices by using a hands down method that keeps the your hands below the belay device.  This method is now the standard for climbing gyms, climbing schools and guide companies to teach.  Anyone receiving professional instruction will most certainly be taught this method.

So what is PBUS and what’s different?  PBUS stands for “Pull, Brake, Under, Slide” and the major difference is that the brake hand is UNDER the belay device in its resting position thus the device is always locked and ready to catch a fall, unless you are pulling rope.  With the old Hands Up method, the belay device was always in the open/pulley position, and the only way to catch a fall was to engage your brake hand downward.

How can you tell the difference?:
Hands Down (Pull, Brake, Under, Slide): (1) Your brake hand thumb is closest to the belay device when gripping the rope; (2) Your hand naturally rests below the belay device; (3) The Belay device is naturally in the locked position to catch a fall.
Hands Up (Slip, Slap, Slide): (1) Your brake hand pinky is closest to the belay device when gripping the rope; (2) Your hand naturally rests above the belay device, leaving both hands and both ropes parallel to each other; (3) The Belay device is naturally in the unlocked/pulley position, unable to catch a fall.

 Hands Down (PBUS)  Hands Up (SSS)
   

The Hands Down (PBUS) method was a dramatic shift in effectiveness of the belay by allowing new and non-attentive belayers to catch falls without making an action to brake (they already are!).  A side benefit was that it also increased the strength of the belay hand by putting stronger fingers (pointer and middle fingers) in the position of strength/grip rather than the pinky and the ring fingers.

If you haven’t seen the Hands Down (PBUS) method have one of the Edgeworks Staff demonstrate it, or take a look around at other belayers, you are sure to see the majority of them belaying Hands Down a better method.